Here’s a quick photodoc of how I made a reusable SMT stencil from some aluminum siding I had laying around. It’s very simple to assemble and works great. Dirt cheap too.
I had picked up a roll of aluminum flashing a few years ago to flash some chimneys I rebuilt/repointed and was curious to see how it would hold up as an SMT stencil.
To buy an SMT stencil frame is near $1000 so I didn’t have much to lose if it didn’t work out.
I cut the frame out of some birch plywood since I had some handy. Really any sturdy frame would do the trick. You could easily glue one together out of some 1x or trim board.
I put a thicker sheet of aluminum down underneath the flashing to give the CNC endmill something sturdy to cut against and clamped it down stretched and tight. My thought there was that If I cut straight on the MDF it might push on the flashing and bend it before it cut through.
A 1mm endmill did the trick. Each pass was .05mm deep.
*been doing it for a couple years now, and I took a .75 drillbit and broke it (so it didn’t get snapped from getting jammed around by the soft aluminum).
That’s what I currently use as My Stencil endmill
I pulled the Flashing tight and stapled it to the frame. No rocket science here. I taped up the inside edges so no solderpaste could squeeze between the frame and the stencil.
I had some old screen print hinge boards so I just attached this frame the same way I would a screen print stencil.
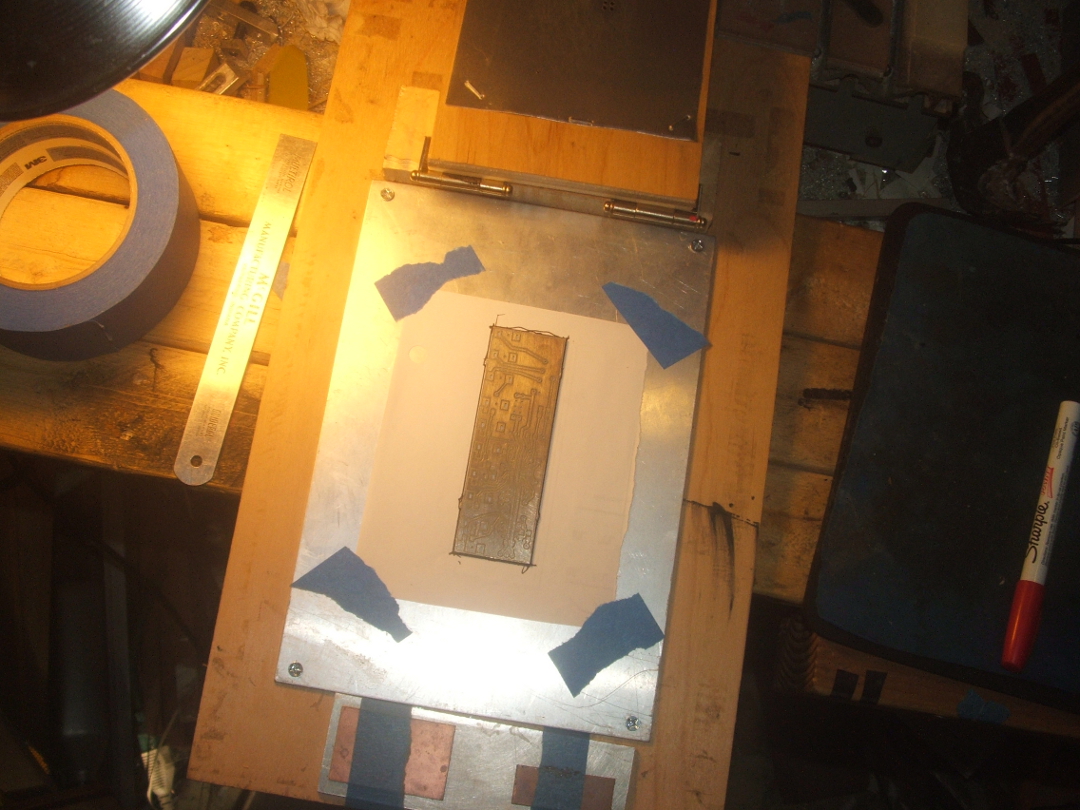
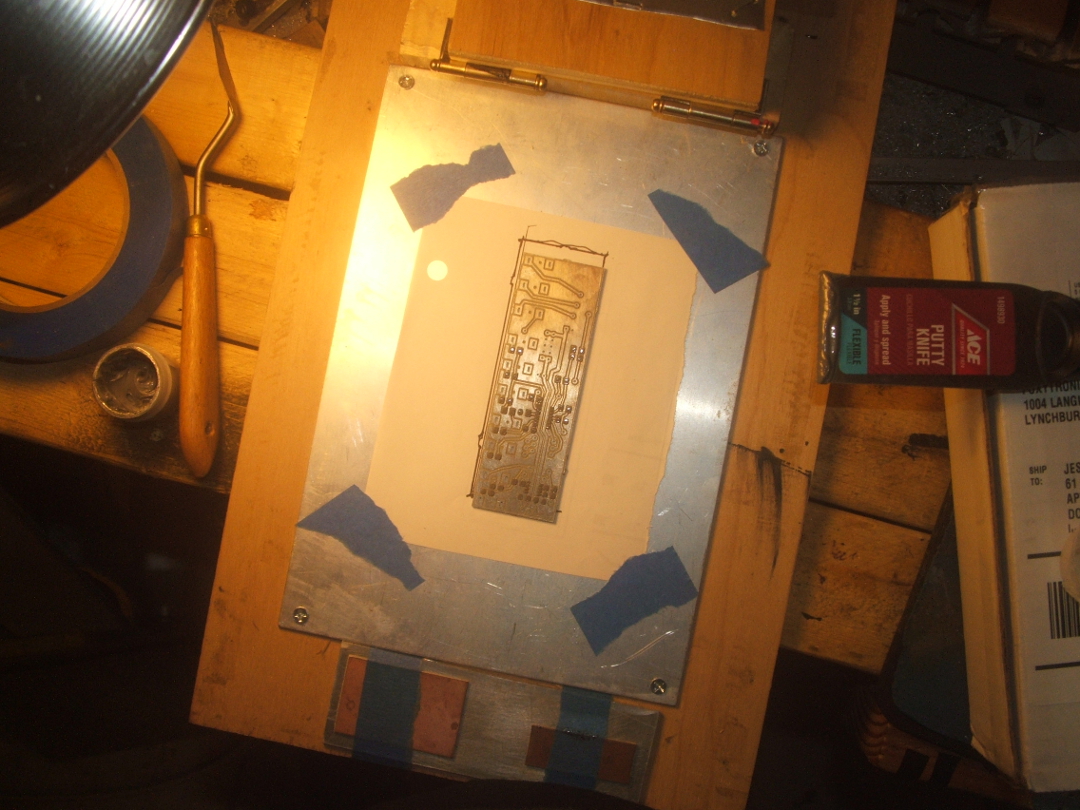
The only fiddly part was aligning the first PCB. You have to push around a little and lift the stencil and fiddle with it a little bit. Once I get all the pads lined up correctly I hold it in place and trace around it with a thin tip sharpie marker.
Then you place the PCB in the outline. If you have the height adjusted correctly the stencil is sturdy enough to hold the PCB in place while you print the Solderpaste on it. just hold the stencil frame down and it pushes down on the PCB.
I used a flexible putty knife as a squeegee. It worked fine.
Cleanup was a breeze. Just scrape it off, unscrew the stencil frame from the hingeboard, wipe it clean with some alcohol, and stick it in the corner till you are ready to do another run.
—–

Here you can see it’s a very simple frame, just a rectangle with a rectangle cut out of the center, and a small sheet of aluminum flashing
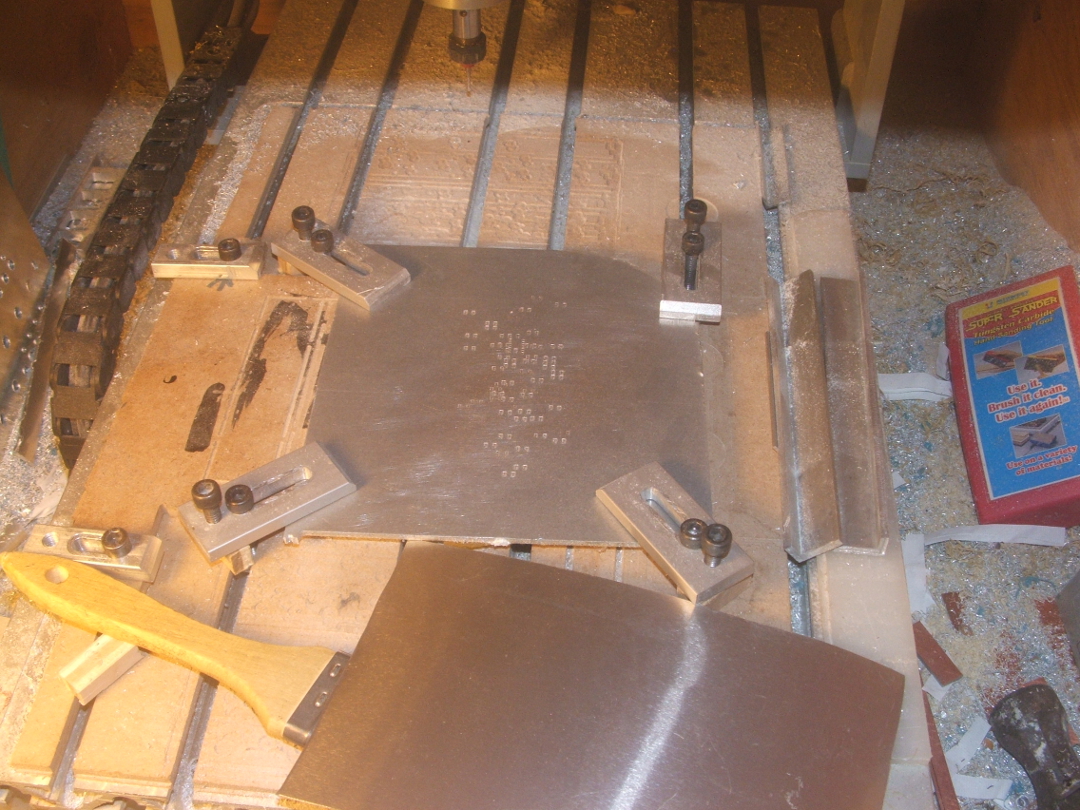
Here is a piece of aluminum stock (about the thickness of a street sign 😉 ) to add some rigidity to the flashing while milling it
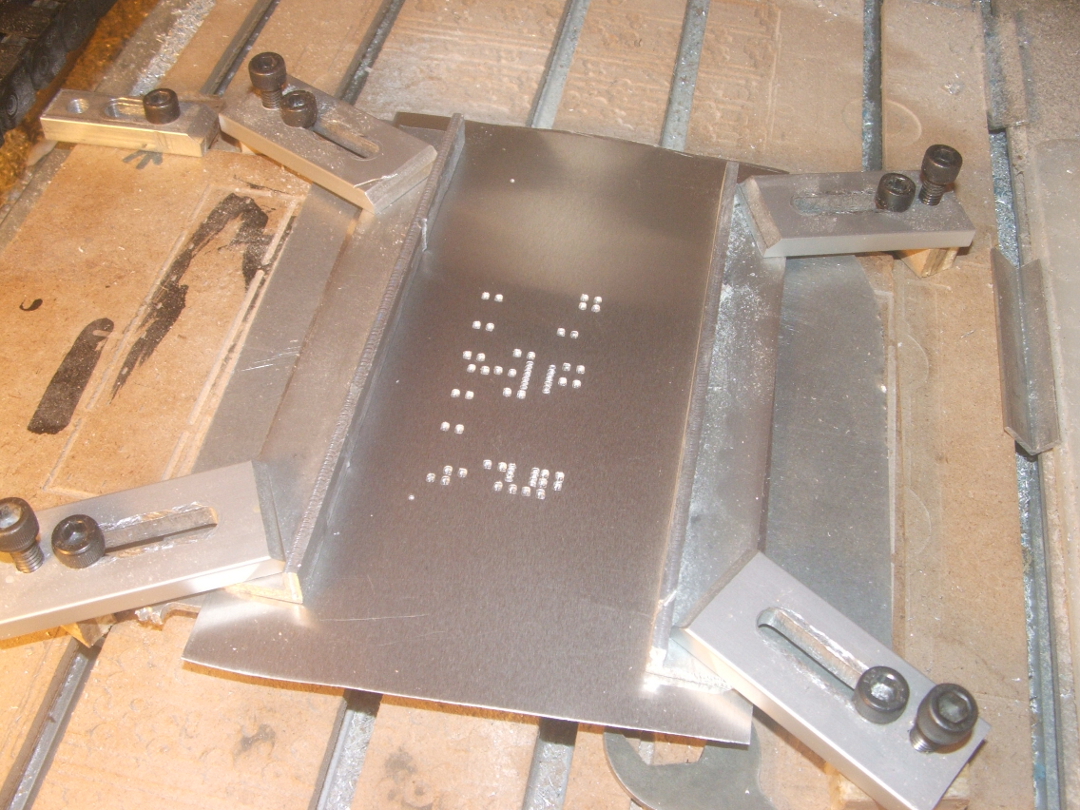
You can see I have it clamped and stretched. No need to break out the pliers, but minimize play
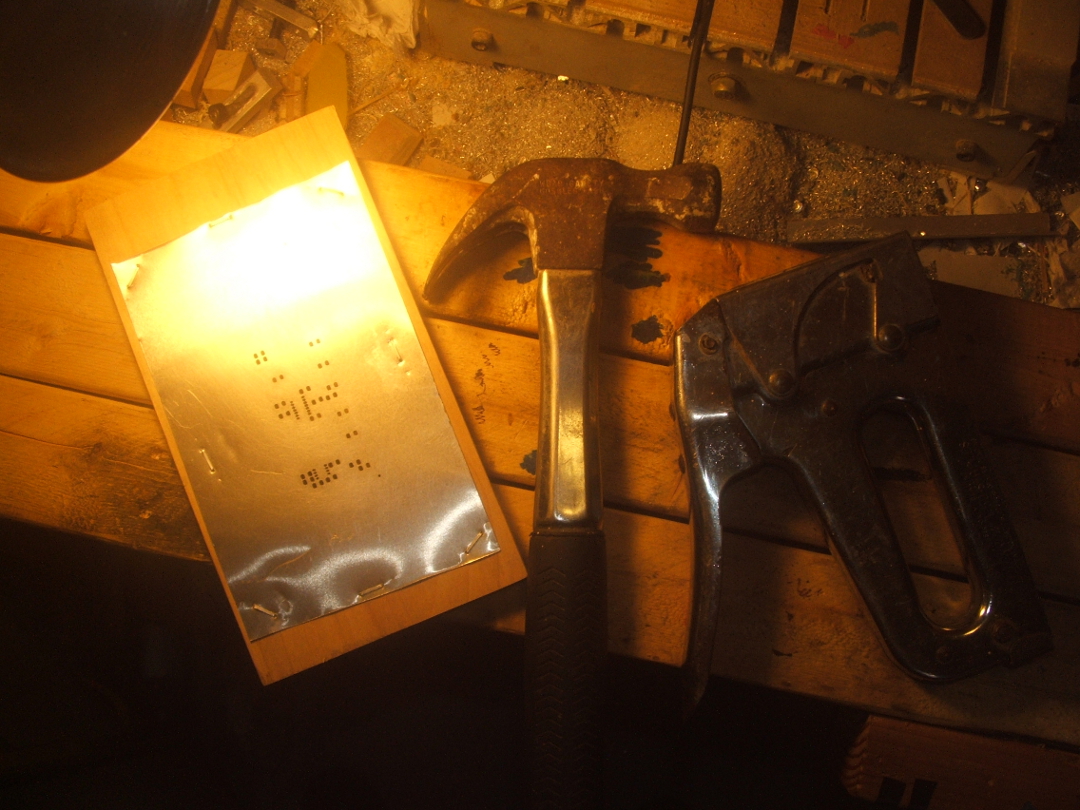
I just pushed the stencil down tight and stapled it a few times. Can’t get much simpler
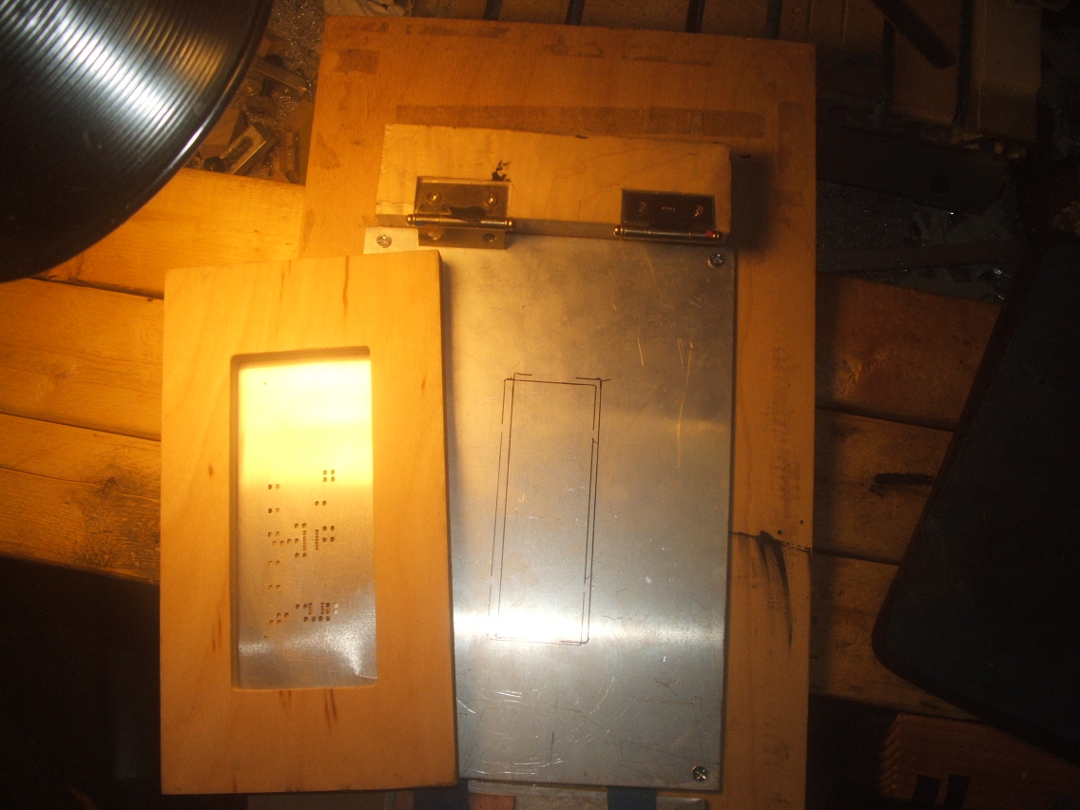
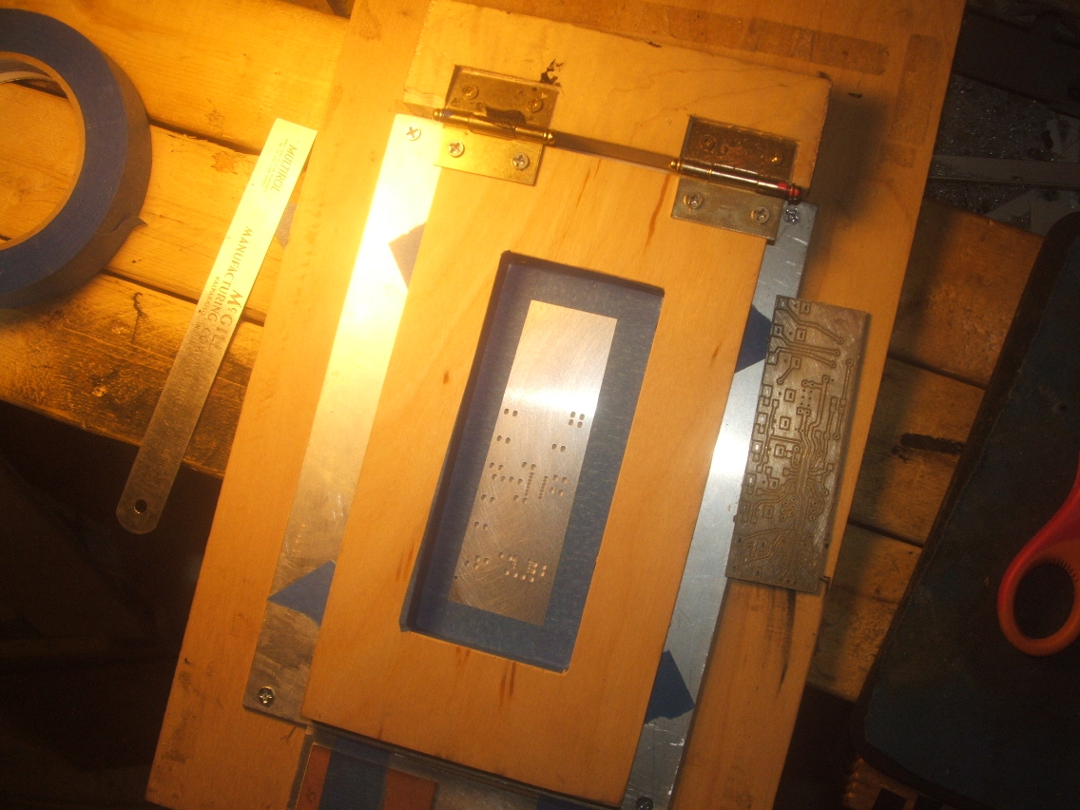
The piece of aluminum screwed in to the hingeboard raises the PCB to the proper height. Ideally the stencil holds down the PCB while you are printing. The flashing ended up being plenty thick to leave a nice solderpaste deposit on the PCB.
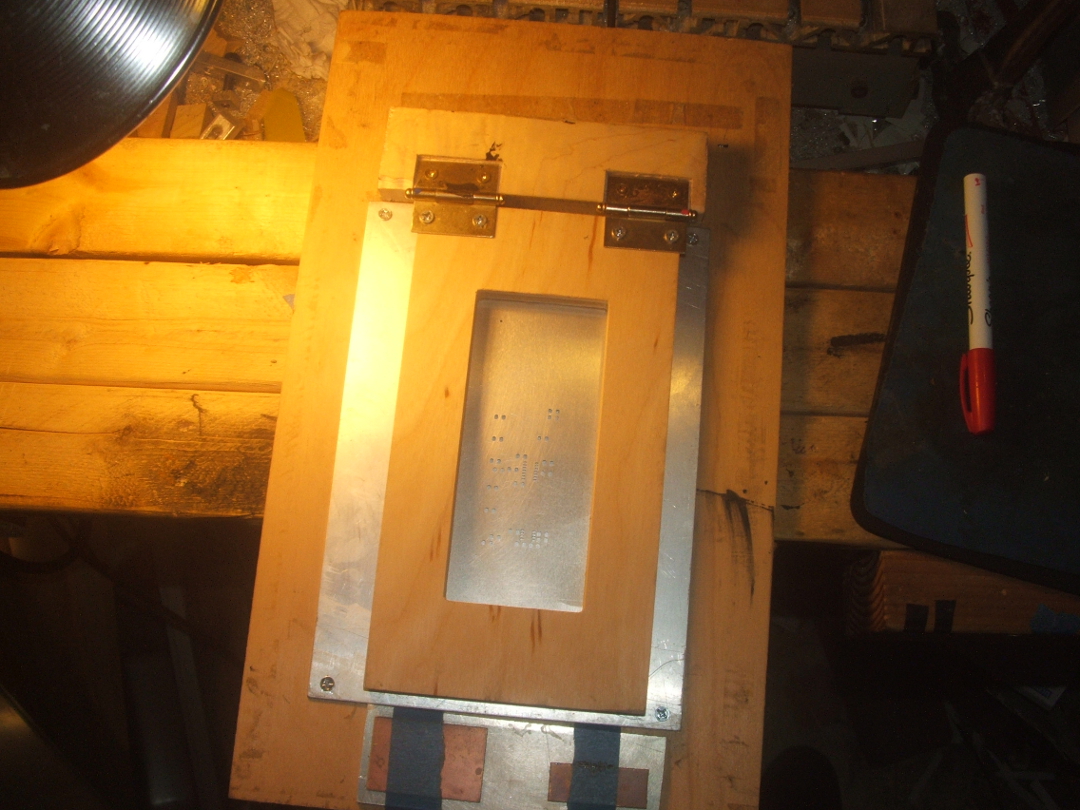
Just screw your hinges right in to the frame.
A little tape on the inside edges keeps the solderpaste from smooshing between the frame and the stencil
Just place your PCB under the stencil and woodge it around till the solderpads line up with the holes in the stencil.
It will take a little patience, but it’s pretty easy
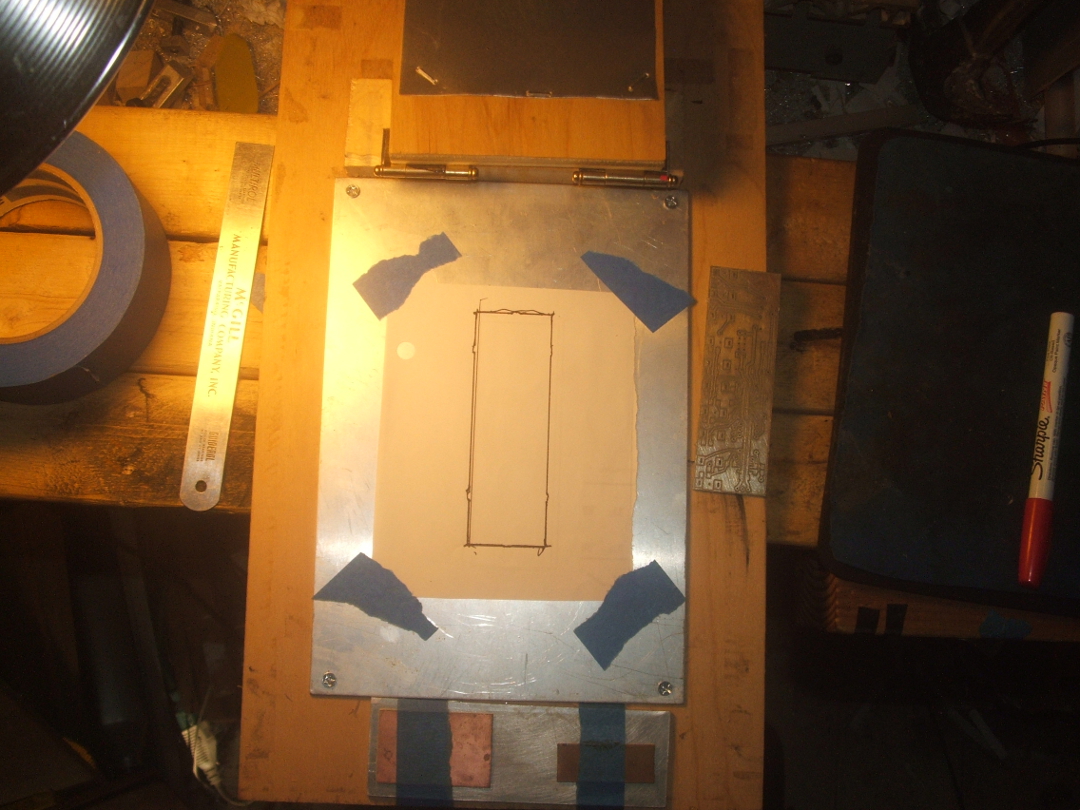
Lift up the stencil (gently) and hold down your PCB while you trace it. You can place the next PCBs right in the outline. No need to break out your micrometers. If it’s a little off the liquid tension of the molten solder will pull the solder and components where they belong.
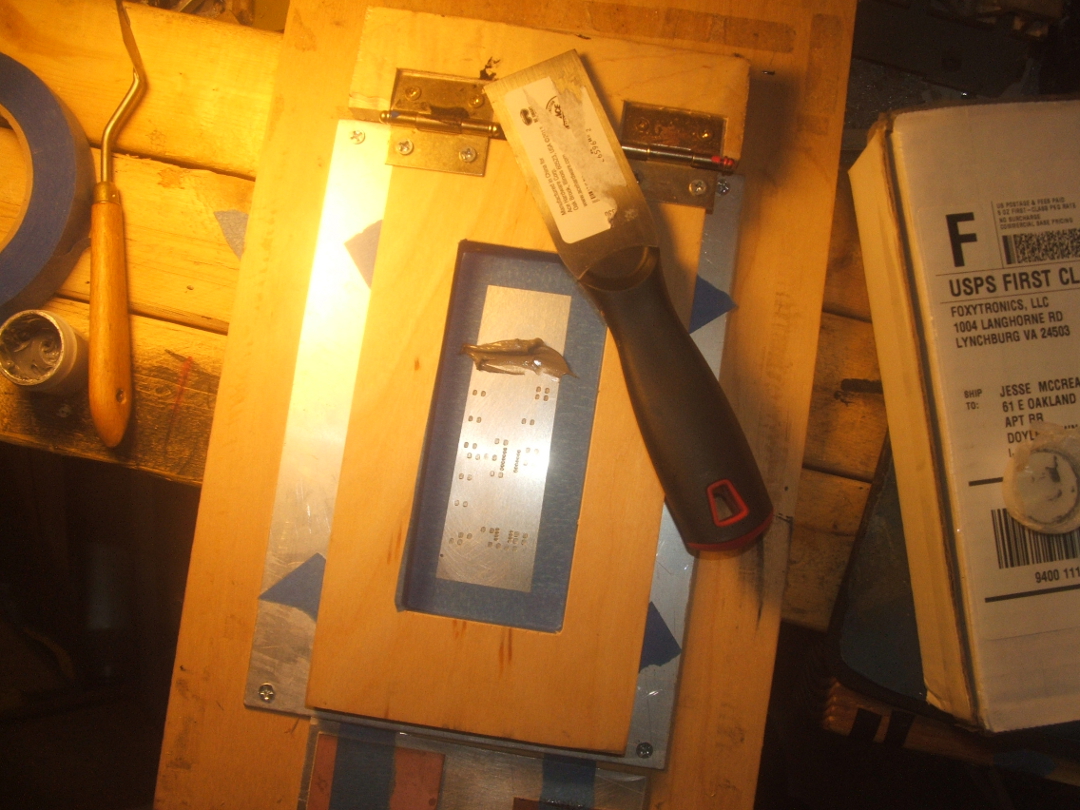
This Flexible Putty knife worked just fine as a squeegee.
Again, not Rocket science. Just look at your pads. Not covered with solderpaste? Take another pass at it.

And Here you are 🙂
a simple DIY SMT stencil made from Aluminum Flashing that I picked up at a local hardware store.